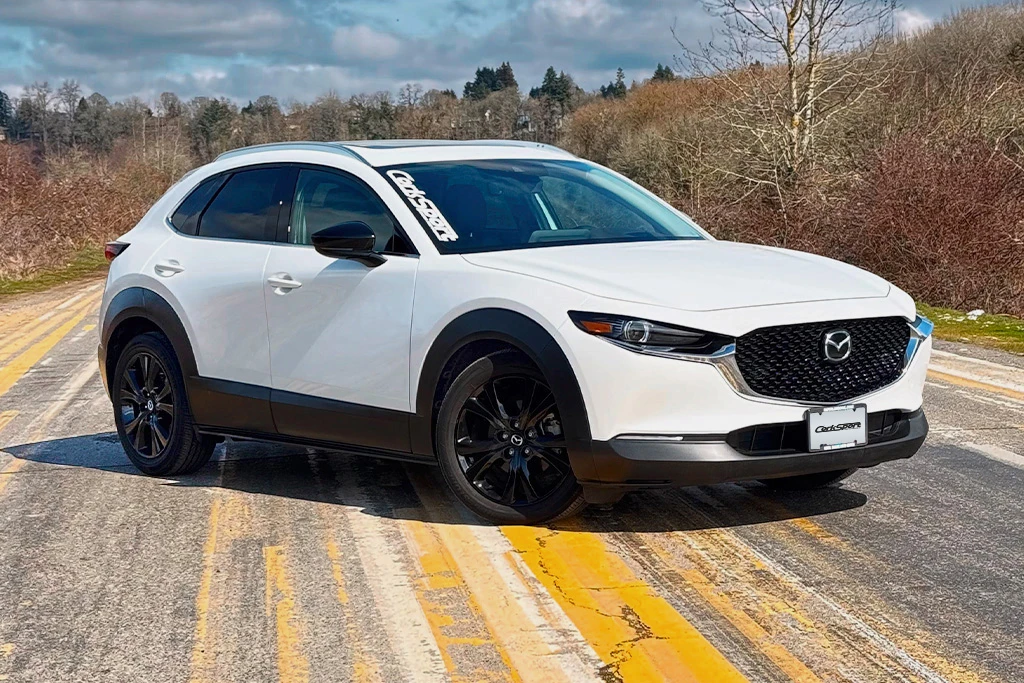
Fits Models Mazda 3, CX-30, CX-50
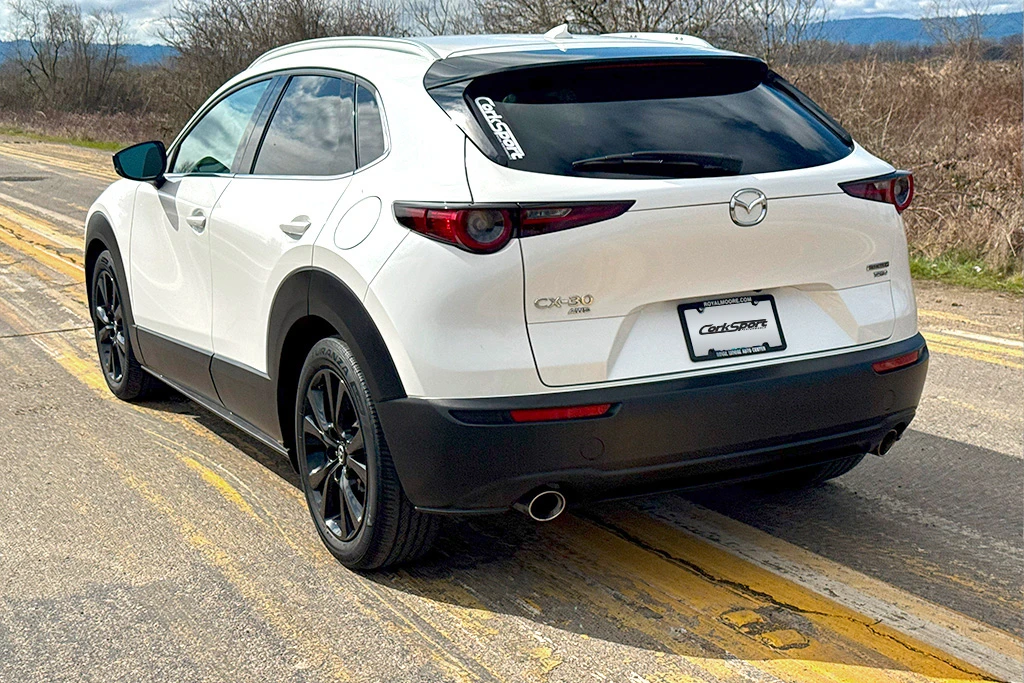
Unleash the potential and growl from your car and take the step forward into more power! A full 80mm Turbo Back exhaust is now possible with CorkSport’s new Catted Turbo Downpipe for the 2021+ 4th Gen Mazda3 Turbo (as well as CX30 & CX50 Turbo Models)!

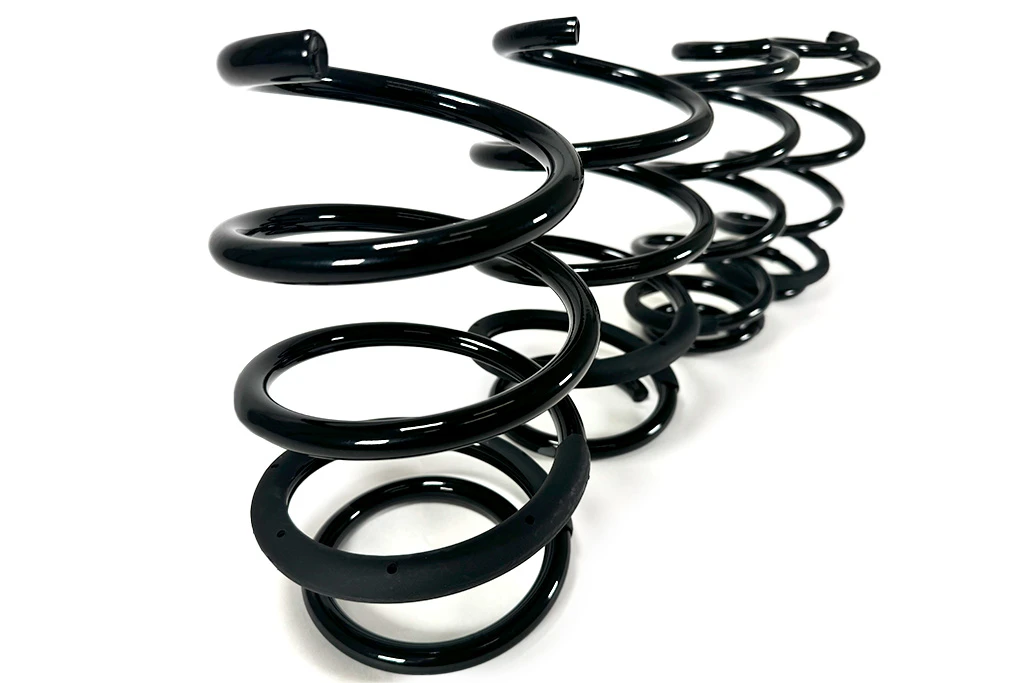
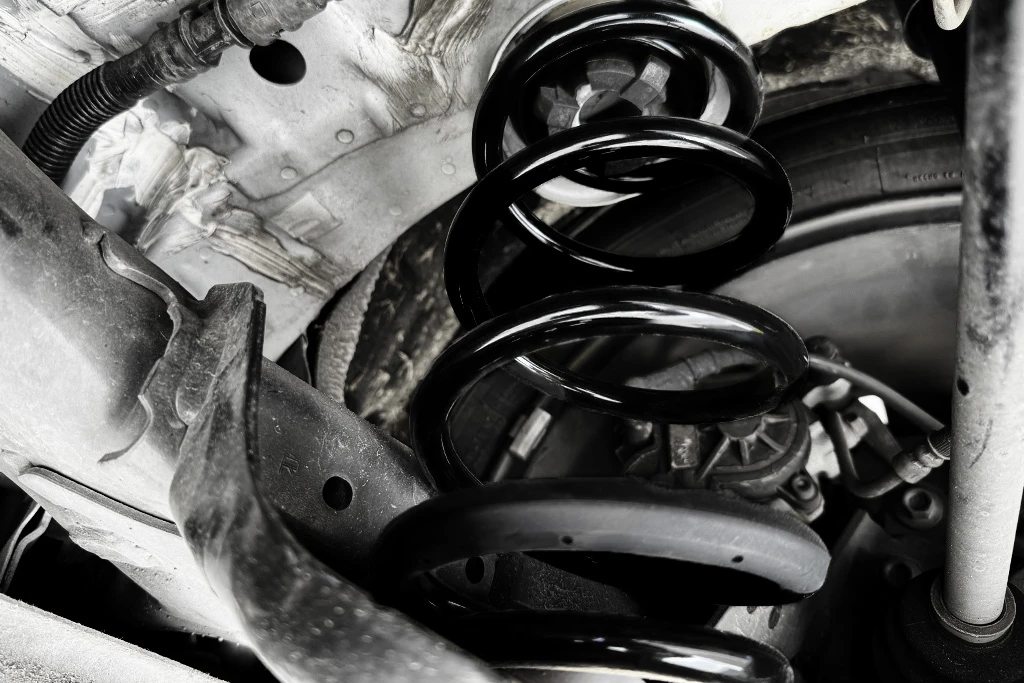
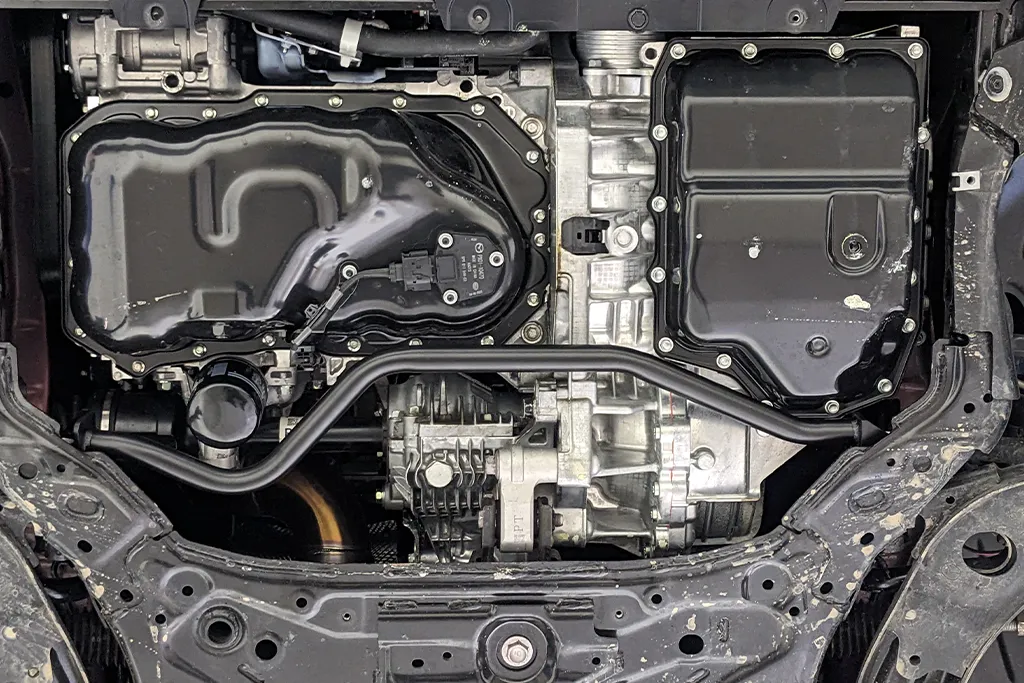
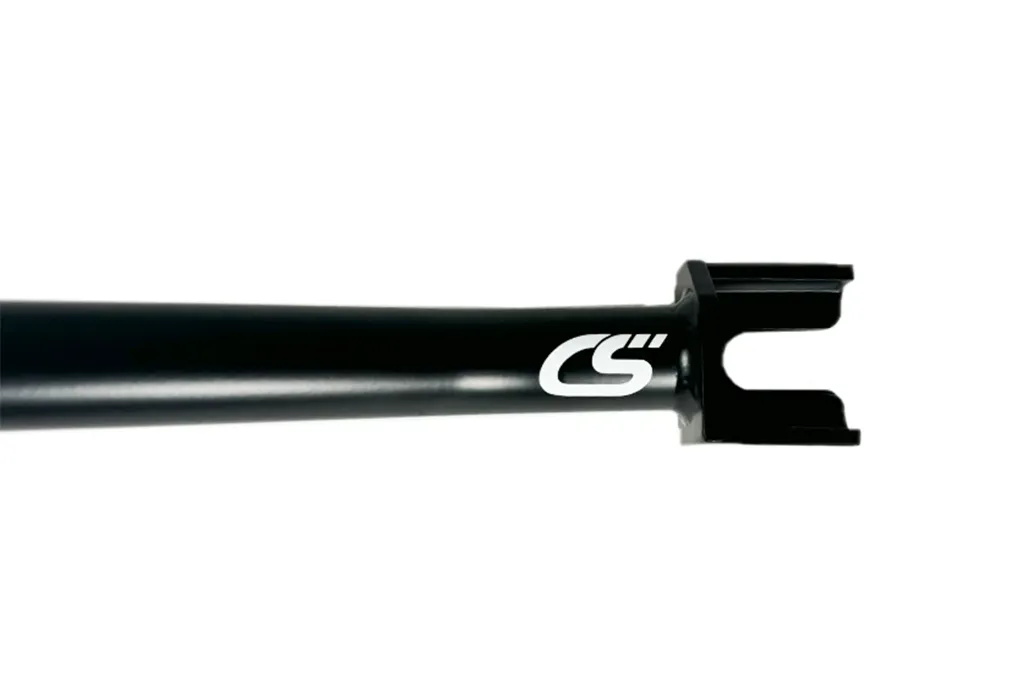
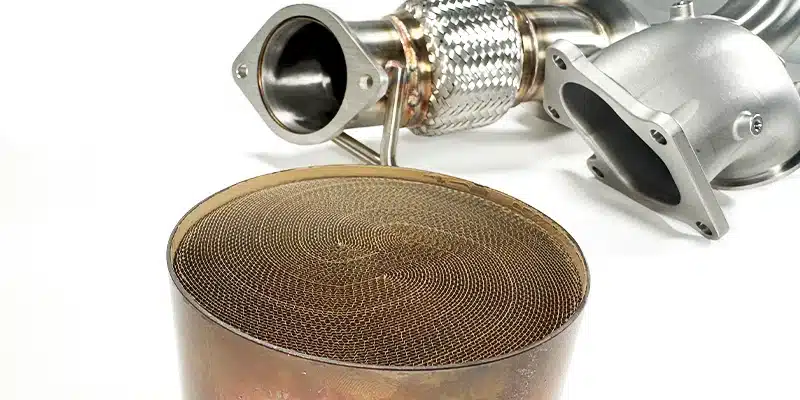
Our downpipe uses a two-piece design, making installation easy without the need to wrestle with a single large, cumbersome pipe. The Downpipe starts with a high-flowing cast 304 Stainless Steel Bellmouth, then joins the 80mm mandrel-bent piping with a V-band connection for a leak-free seal.
We used 3D scan data from the OEM downpipe when designing our CS pipe, which means fitment is just like OEM and the CorkSport Downpipe will fit with any aftermarket Cat-back exhaust system, or even OEM!

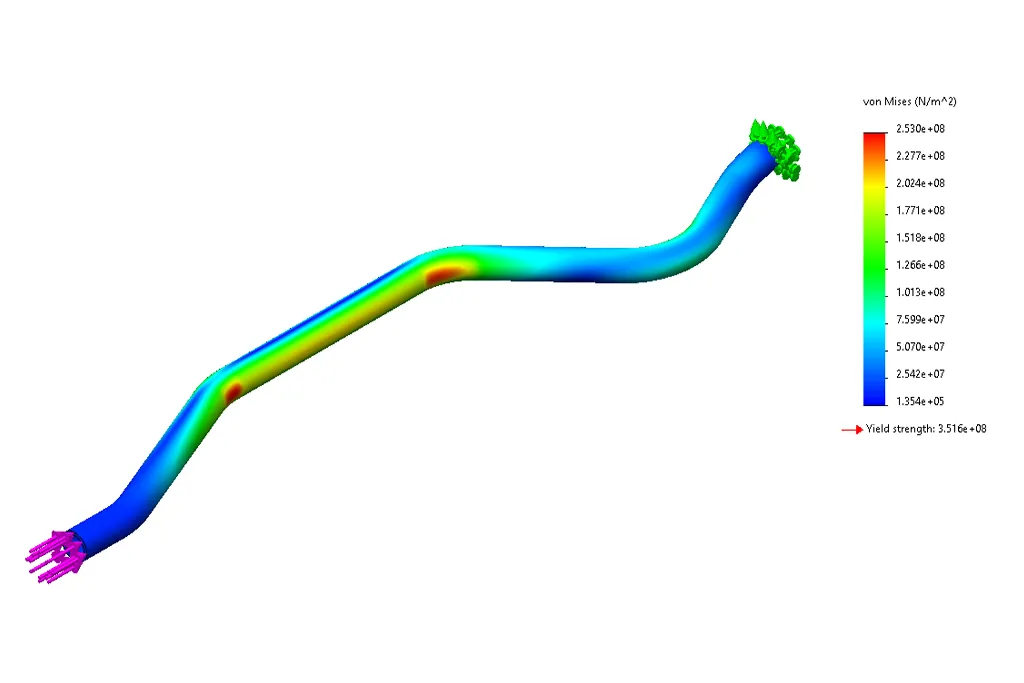
An updated high-flow catalytic converter is utilized in our V2 downpipe. Our V1 downpipe used a Euro 3 300cel catalyst that showed mixed results with check engine lights (CELs). Our new and improved V2 unit uses a Euro 6, 500cel catalyst for the best in emissions control while minimizing those pesky CELs. Euro 6 is (generally speaking) a more strict set of emission parameters than in the USA. We also went for a more dense catalyst (500cel), which, when combined with an upsized 5” diameter, showed no significant power difference from the V1 300cel or even a fully catless prototype unit (catless not available).
The updated catalyst has shown no check engine lights through our testing. We cannot guarantee no CELs as testing all possible climates, driving conditions, local fuels, elevations, and any and all combinations of these is nigh on impossible! However, we are happy to report no CELs through ~10 months and ~14,000 miles of driving!

Do I Need A Tune?
Addressing the other elephant in the room: Tuning. We highly recommend getting a tune after installing the 80mm downpipe as there are very strict airflow limits in the stock tune that severely limit power. This will result in some mild stutters, surging, or “hiccups” at wide-open throttle. This does not do any damage as it is simply a very conservative safety limit for stock components.
With more flow-efficient parts (i.e upgraded intakes , Turbo Inlet Pipe, and exhaust systems), these limits are being reached much easier and the ECU will limit the power output of the engine. The vehicle will be drivable on the stock tune and still give you an aggressive growl out of your 2.5T!
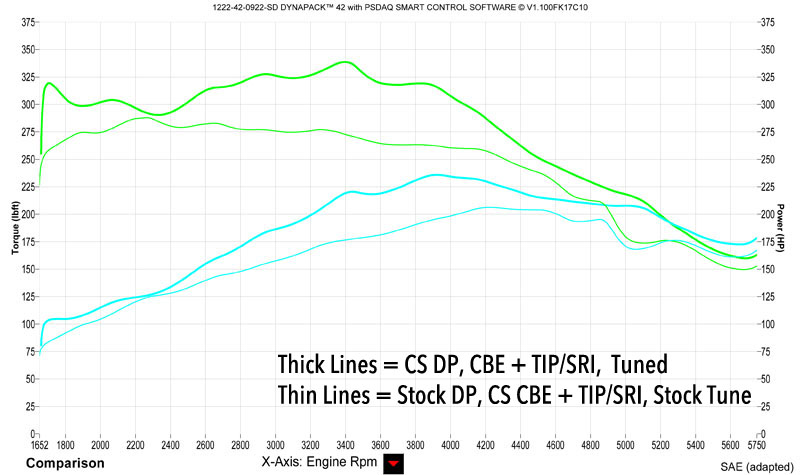
Here you can see the power gains with a fully-bolted Mazda 3 Turbo that is tuned vs stock downpipe and stock tuning.
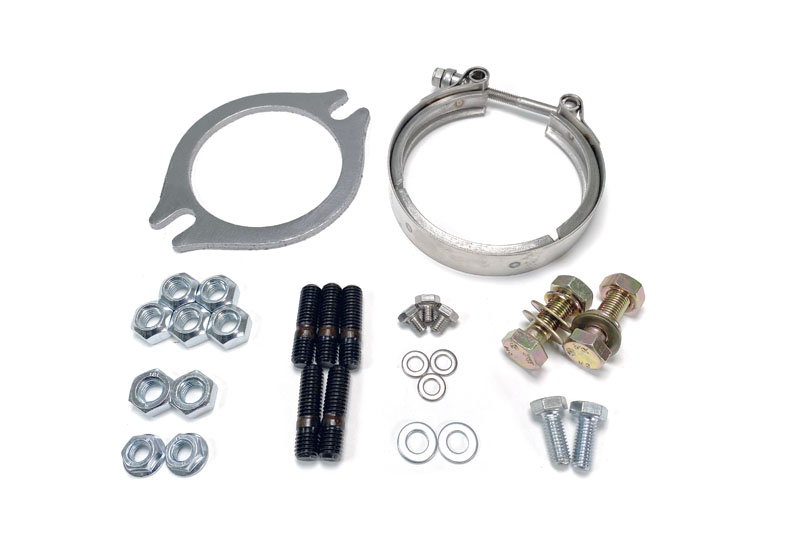
Each Downpipe kit comes with a complete pack of all the hardware and gaskets needed for installation. This includes:
- New turbo studs and crimp nuts
- Stainless Steel V-band Clamp
- Exhaust connection hardware
- Remflex exhaust gasket
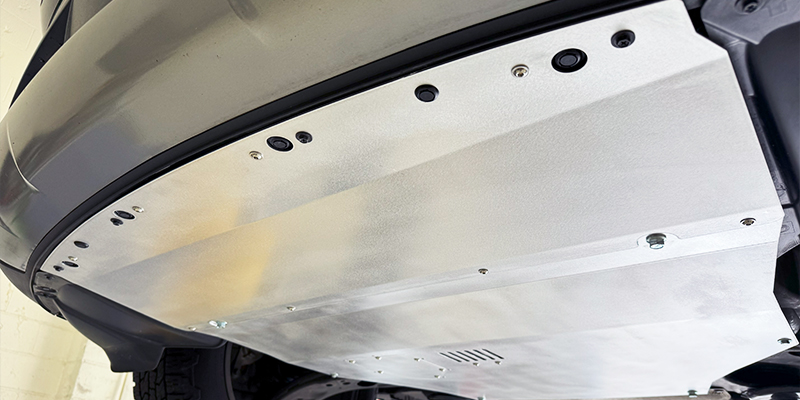
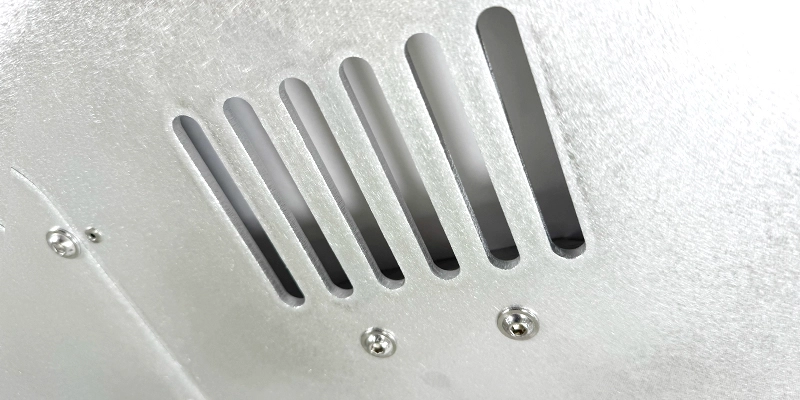
- Custom headshield and mounting hardware
Be sure to check out the CorkSport Mazda Catted Downpipe for more images, pricing, and installation instructions.
Connect with us